Found this amazing bread recipe from a cookbook by Ken Forkish, and I was really satisfied with how the bread turned out. The bread is soft and moist with a crispy crust, and is surely a foolproof recipe for patient beginners.
Sharing the recipe and steps below for fellow bread lovers to try at home!
Ingredients
- White Flour 750g
- Water 605g
- Fine Salt 20g
- Instant Dry Yeast 1 g
- Levain 425g
Preparing the Levain
Before we begin baking bread, we have to first prepare the Levain (made from Sourdough Starter) 3 days before the actual baking day. yes that’s right, I repeat 3 day before we actually begin baking the bread.
Although tedious, this is a necessary step, as we are changing the texture and composition of whatever sourdough starter we have to the ideal starter consistency for our bread.
Day 1: Levain Feeding
- Original Sourdough Starter 50g
- White Flour 250g
- Water 175g
Mixed all 3 ingredients in a large bowl (with some extra space for the levain to rise) until evenly combined with no extra flour left to be seen.
Leave it in a cool place overnight (about 8h-12h), ideally with a room temperature of 24 degrees Celsius
Day 2: Levain Feeding
- Levain from Day 1, 50g
- White Flour 250g
- Water 175g
Keeping only 50g of the levain we made on day 1, we discard the rest, and we repeat the same step on day 2. Mixed all 3 ingredients in a large bowl (with some extra space for the levain to rise) until evenly combined with no extra flour left to be seen.
Leave it in a cool place overnight (about 8h-12h), ideally with a room temperature of 24 degrees Celsius
Day 3: Levain Feeding
- Levain from Day 2, 100g
- White Flour 500g
- Water 350g
This time, we keep 100g of the levain we made on day 2 and discard the rest. Mixed all 3 ingredients in a large bowl and again, leave it in a cool place overnight (about 8h-12h), ideally with a room temperature of 24 degrees Celsius. With that, our levain is finally ready for baking the next day!
Let’s Bake!
6 hours after our 3rd feeding the levain is now ready to be used for baking.
Step 1: Autolyse Flour and Water
To ensure that the flour combines well with the water, before combining all the ingredients, combine 750g of White Flour and 605g of water and leave it untouched for 30 minutes, no need to stir or mixed it, simply pour the water to the flour and leave it for 30 minutes.
Step 2: Combine all other ingredients
After autolyse, mixed in the other ingredients: Fine Salt 20g, Instant Dry Yeast 1 g and levain 425g (made on day 3) until well combined and leave it to rise for 6 hours.
Within the 6-hour timeframe, fold the dough on all 4 sides using the stretch and pull method. Do it about 2-3 times for this particular dough. (Even though the video suggests doing it 4 times, for this recipe, 2-3 times is enough.)
You can cross-reference the link below on how to fold the dough.
Step 3: Shape the dough
After 6 hours of proofing, the dough should have risen to nearly double its size and is ready for shaping.
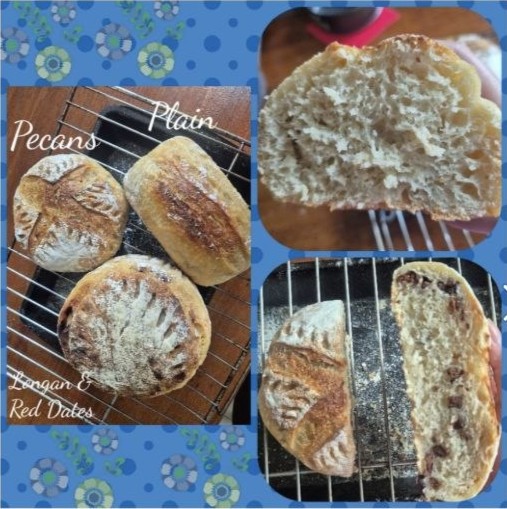
Remove the dough from the bowl and divide the dough into 2-3 portions. I divide it into 3 as I wanted to try out different flavors and fillings. I took half a portion as longan and red date flavor, and the other half was further divided into 2 to make sourdough pecans and loaf-shape white bread each.
Note: For the pecan filling, roast the pecans in the oven or the air-fryer at 175 degrees Celsius for about 3-5 minutes and let them cool completely before adding the pecans into the dough during shaping.
Step 4: Cold Proof in refrigerator overnight
Once the doughs are shaped, place them in the refrigerator and proof overnight.
Finally its baking time!
The next morning or evening at a time of your convenience, preheat the oven for 45 minutes at 245 degree Celsius.
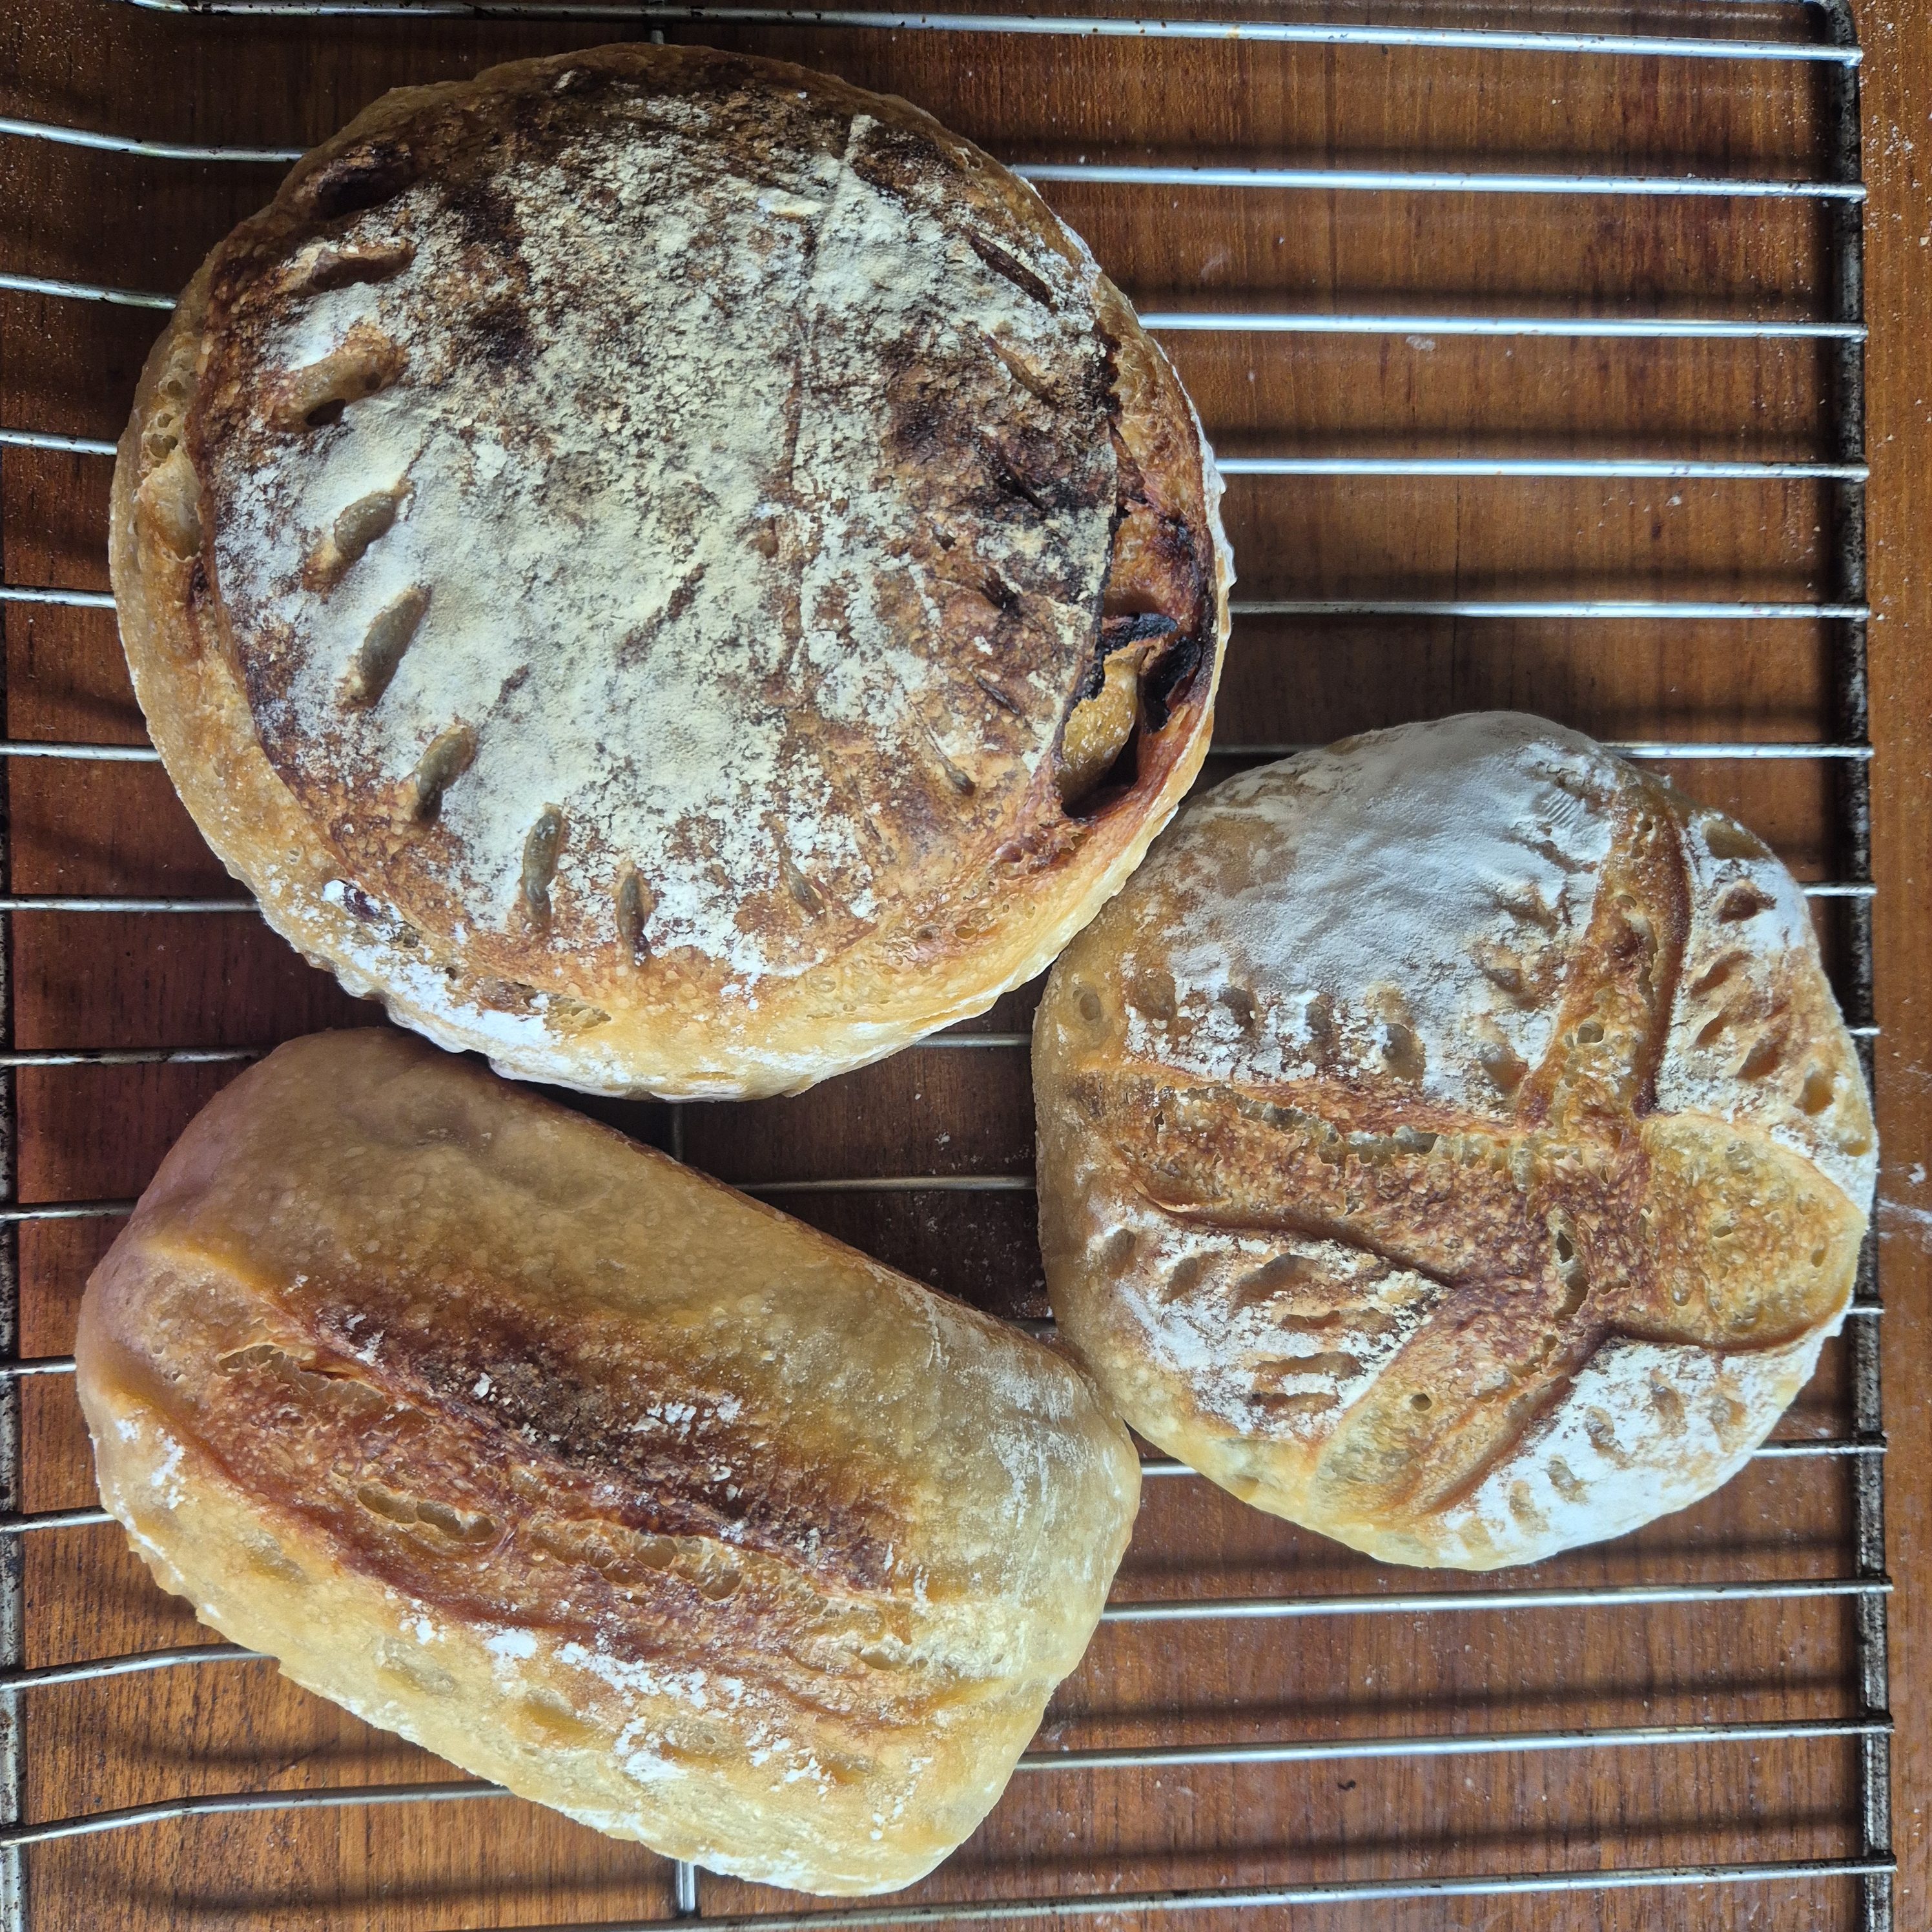
After preheating the oven, take out your sourdough starter and score your dough if you wish, and pop them directly into the oven fresh out of the fridge. Bake them for 30min with the lid and 20 min without the lid (If you are using a Dutch oven, or about 40-45min if you are simply using your oven as it is (may need less or more time depending on your oven).
Tips: consider adding a thin layer of water at the bottom of the oven to invite some steam to help with the oven spring/rising of the bread if you are not using a Dutch oven.
Once the bread crust turns golden brown and the bread is fully cook remove it from the oven and let it cool completely for about 1-2 hours before slicing the bread.
Tips: It is important to ensure that the bread is cooled completely before cutting it open, as cutting the bread too soon will interfere with the steam distribution, causing the bread to become dry and sticky inside.
Buon appetito!!!

Once the bread has completely cooled, it’s time to taste your creations. Continue improving your baking by adjusting the recipe to suit your preferences or try out new flavors by experimenting with different ingredient ratios and fillings. Congratulations, you’re now an official sourdough baker!
